Thursday, October 15, 2015

Magnetic Photo Frames - 2


For this frame, I used an old metallic gold coloured invitation card as the base, die-cut the frame and tried to sponge vintage photo distress ink onto it. But because of the glossy finish on the card, the ink wouldn't stay. So I rubbed a little Creamy Brown Chalk Ink from Color Box Chalk Ink set and then sponged the Vintage Photo DI.. Then attached the die-cut jute flower and popped the wording panel with foam tape onto it. The panel is again cut and inked similar to the base. Added die-cut letters which I inked with Walnut Stain DI..

For the base and backing, I followed the same technique as in my previous frame. How is it?

Magnetic Photo Frames.. 1


Hi all.. We had a local haat/flea market in our apartment complex and guess what I made? A bunch of magnetic photo frames and some mini cards.. wanted to share them with you..

For this frame, I used the negative of a die-cut blue corrugated sheet that I had bought from Itsy Bitsy, trimmed it to size and added the embellishments and diecut words to it.. For the 'Where' and 'When' panels, used diecuts again which I inked on the borders and then stamped the words with stamps from a custom-ordered stamp set from Shoma of Artbug.. Then I stuck the piece onto a similarly cut cardstock panel to give it more strength and mounted the entire thing with foam tape(on three sides, the fourth side is to slide in the photos) onto a double layer of cardstock backing. Then adhered magnetic tape on the reverse side of the backing.

How is it? 

Wednesday, October 14, 2015

An announcement :-)


Hi all! It has become my habit to disappear completely for a long time and then to flood you with posts suddenly.. :-) Am unashamedly doing that again now.. There have been major changes going on  particularly on my professional front and it is taking time for me to cope with everything.. but life is much more beautiful with these changes now.. will keep you posted when the right time arrives.. Until then, I want to share a happy update.. I have been selected to be the first design team member of BeadsnFashion, a one-stop destination for all things related to jewellery making!!!

Here is the link to my first post with them. You MUST visit it, especially if you like making jewellery and are very creative about it. Bcoz there is a contest that you can participate in and win exciting prizes!

And be prepared to receive a deluge of new posts from my feed now :-)


Sunday, June 28, 2015

Handmade stencils


I was itching to do some DIY and struck upon this a few weeks back when I was ogling mixed media projects online with a crazy obsession.. Well, before trying these designs above, I started with simple ones:


 (had used this one on my son's birthday album cover page.. wasn't quick enough to wash the acrylic off.. u have any tips for this?)


Did this with a craft knife on some plastic folders that we usually get in stationery stores ( cost just 6 Rs. and each was cut into four pieces for all the stencils above!) The hearts was the first one I cut and it shows in the pic that I wasn't deft with the knife to begin with, right? :-)

But once I got the hang of it, the rest patterns were a breeze.. I just drew the image on a piece of paper and placed the plastic sheet on top of it and went through with my knife.. Well, everything placed on a thick newspaper bed to avoid the floor getting the scratches, of course!

Peach-Plum-Apricot cobbler


I made this most-delicious-dessert-we-have-ever-had with a bag of these summer fruits gifted by a neighbour who happened to visit the hills to beat the heat.. it was melt-in-the-mouth and finger-licking-good!!

We had it with vanilla icecream.. yumm!!


Here's the recipe at : http://www.finecooking.com/recipes/summer-stone-fruit-almond-cobbler.aspx

I had halved the recipe and we(four adults) finished the whole batch in two servings!!!

Birthday card for a Special Someone


Hi all.. With the scorching summer waving goodbye and making way for monsoon winds and rain, there seems to be a lot of cheer around! Kids are coming out to play after a long dreary time and seeing them play makes one feel good and playful too :-)

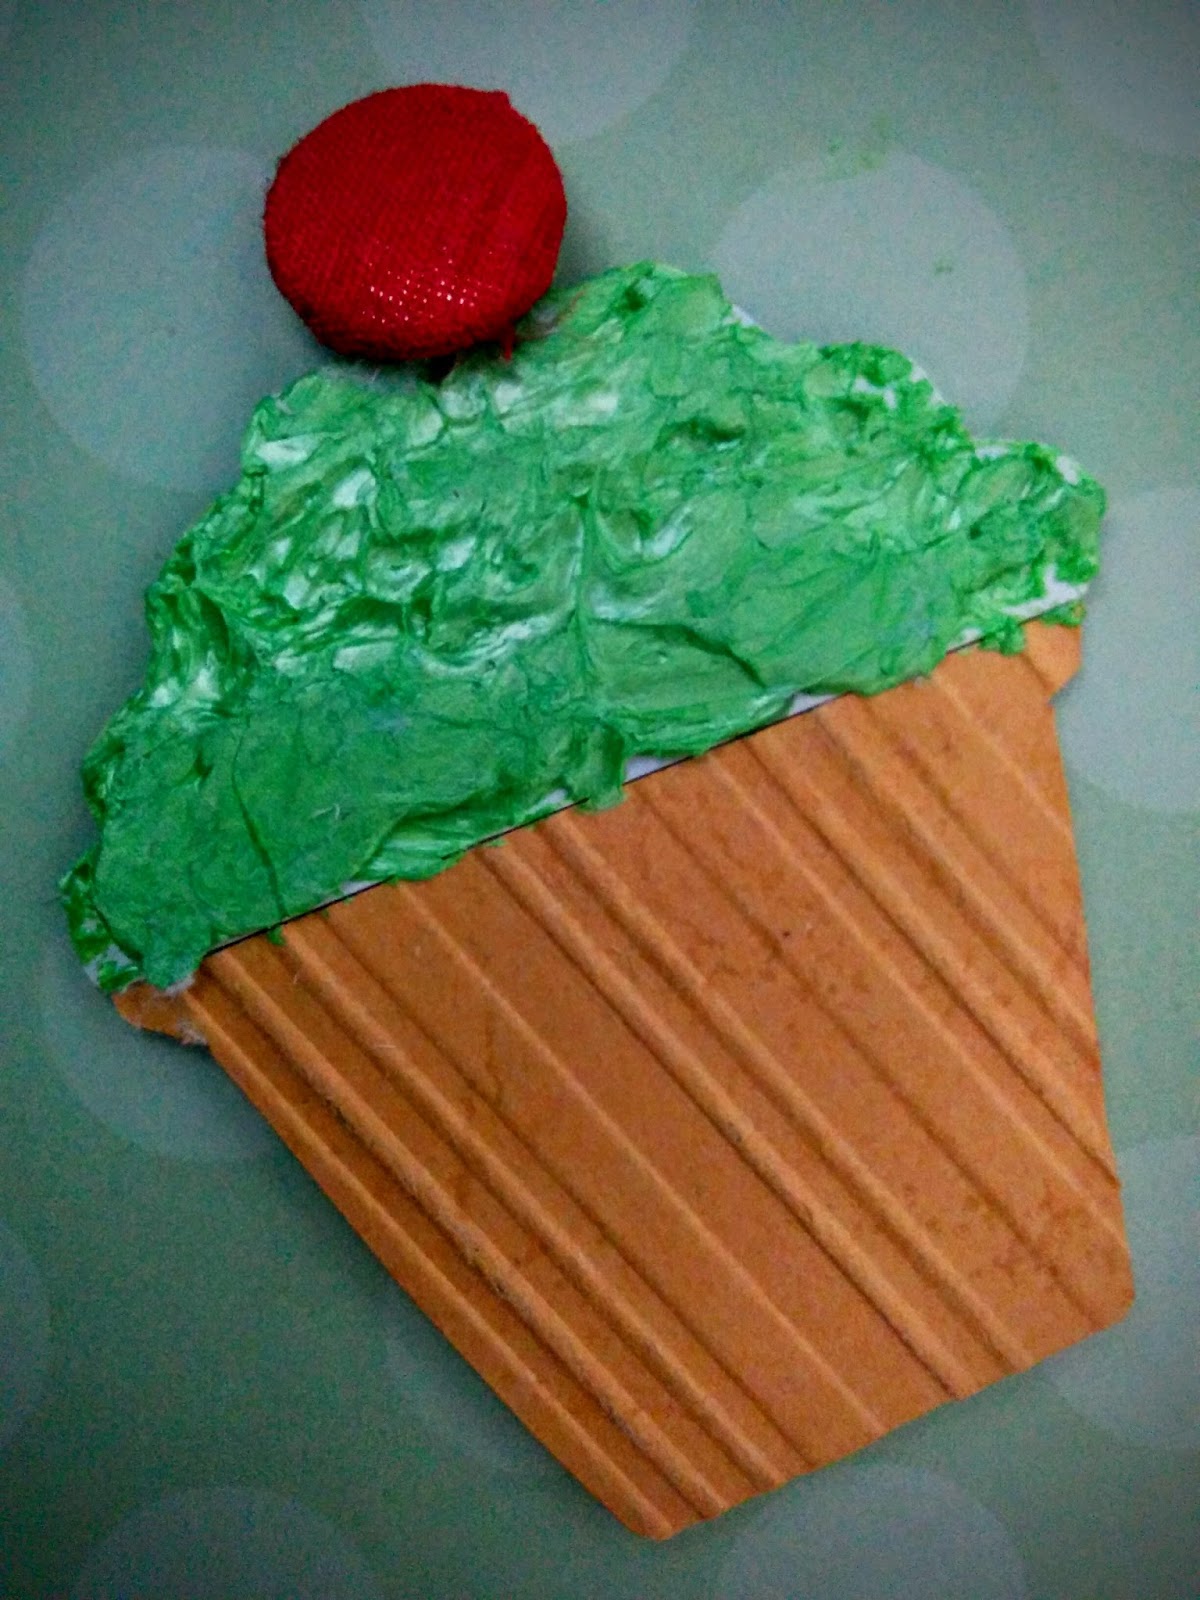
Here's a little card I made for a special someone a couple of months ago.. The kraft cardstock and Lunne patterned paper was bought at Ananda Stationery Store a few months back when I made a trip to Chennai. The cupcake is handmade with scraps which I handcut and embossed.. The 'frosting' was done with Faber-Castell 3D outliners (Pearl) which I had in my stash for a long time.. I had planned to give it a nice piped design but it so happened that the tip was dried out and everything came out in one BIG blob when I unplugged it.. so, there goes my design ;-( But I like this look too.. don't you?
The 'cherry' is a spare button that came with one of my kurtis :-)

Here's a  closeup of the cupcake:

Saturday, June 6, 2015

Another day's dinner...


Oh. no.. I don't really keep cooking exotic dinners all the time.. These are reserved for close knit family on special days.. That day, it was fried tofu, chilli-garlic spinach (some of it ground with some leftover dal to a paste for the dip) and zuchhini-capsicum bread. The tossed spinach was the best!