Showing posts with label magnetic. Show all posts
Wednesday, January 20, 2016
Bead Craft Ideas...
Labels:
alphabet beads,
beads,
craft,
DIY,
door hanger,
faceted,
home decor,
ideas,
kingfisher,
magnetic,
metallic,
napkin ring,
painting,
seed bead,
sequins,
thoran,
triangle
Tuesday, January 5, 2016
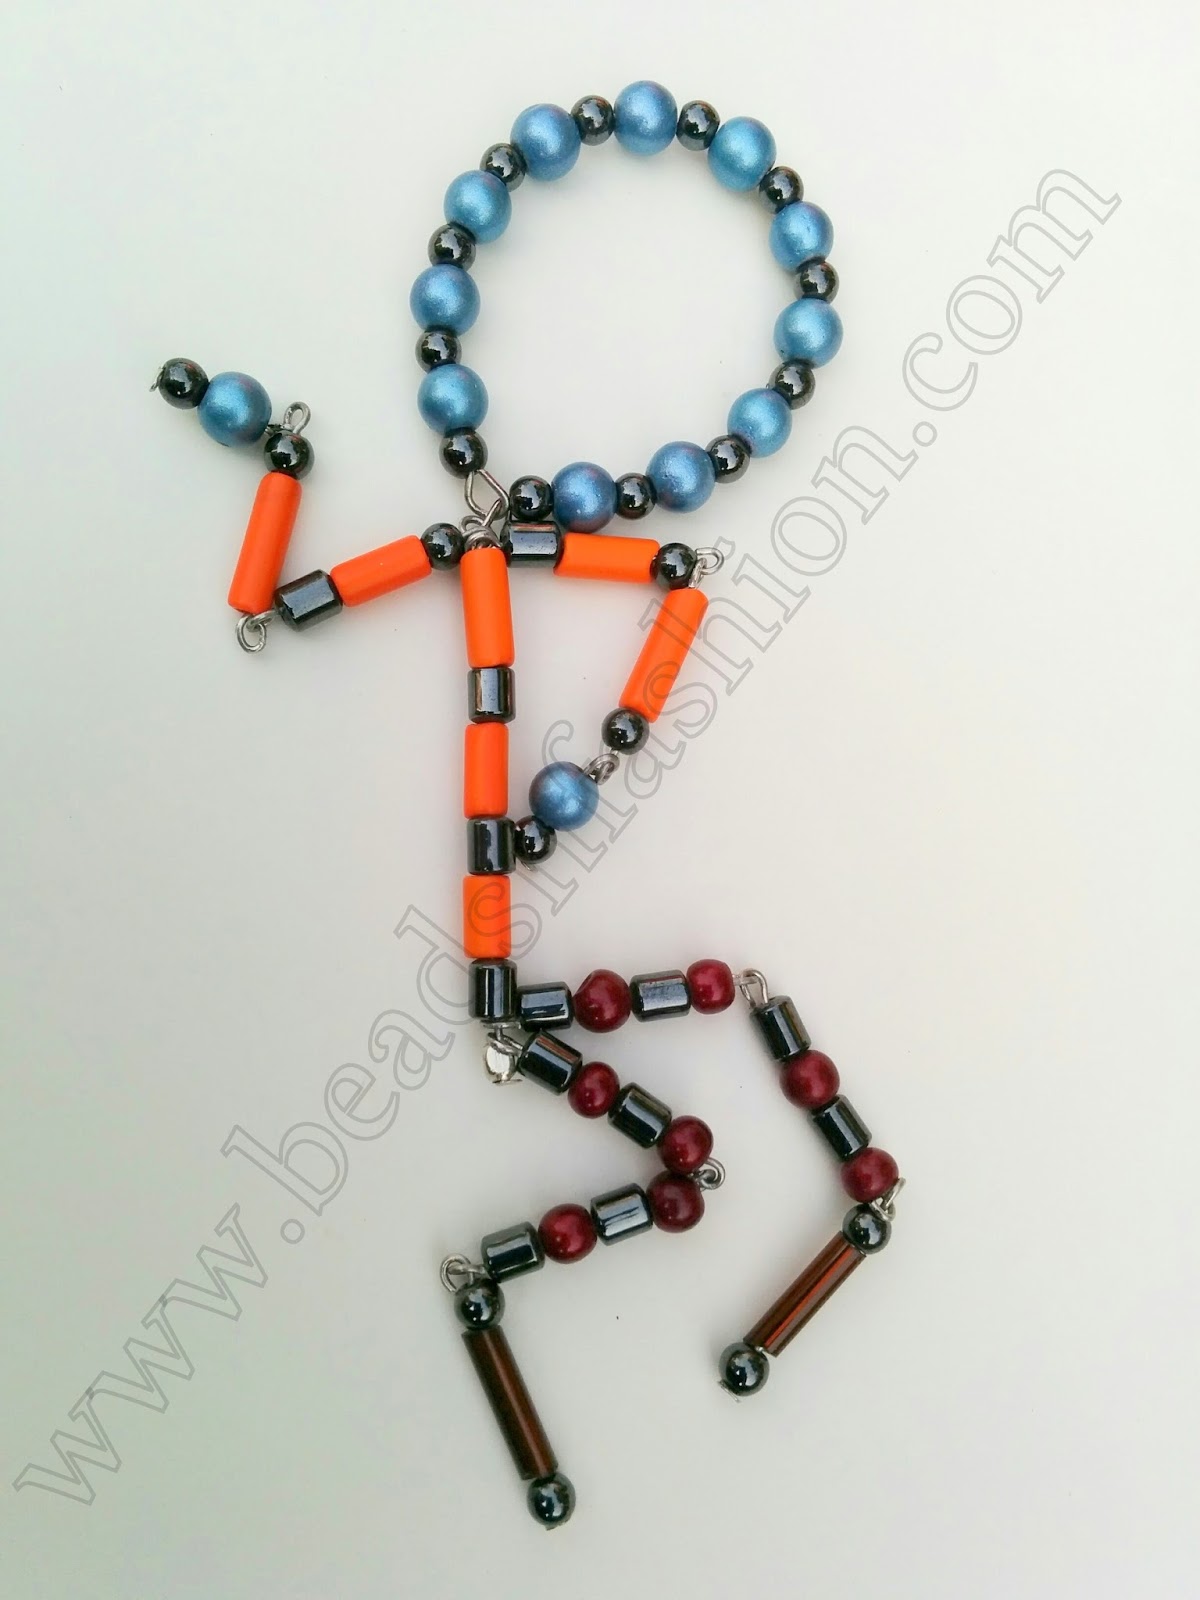
Magnetic men :-)
This is someone whose arms you can twist to your heart's content!! He he.. :-)
The beads are magnetic and so you can prop him up on a fridge or a steel almirah.. You can bend and twist the head and limbs too..!! Your own emoji on your fridge to display your current mood.. howzzat??
I made this for my post at BeadsnFashion. Here is one more in different moods:
Labels:
bead,
DIY,
emoji,
expression,
fridge magnet,
handmade,
magnetic,
memory wire,
mood,
original,
simple,
unique
Thursday, October 15, 2015
Magnetic mini frames
Hi! These are tiny frames.. Can hold just a passport sized or so pic.. The base is an old invitation card sponged with Evergreen Bough and Black Soot distress inks. The die-cut panel (SpellBinders Delicate Doilies die set) was also sponged with the same inks and stamped with a Technique Tuesdays stamp whose name I am not able to recollect now.. happens all the time with me :) The magnetic base and backing were prepared similar to that in a previous post..
Here is another similar mini frame:
Labels:
die cut,
distress ink,
frame,
handmade,
magnetic,
negative,
photo,
picture,
Spellbinders
Magnetic Square photo frames - 4
For this frame too, I used old invitation card as base, sponged Distress Inks and ColorBox pigment Ink, added inked up die-cut panel with foam tape. Embellished with rhinestones.. This is a little smaller than the previous frames and is square shaped. The die is from Spellbinders Delicate Doilies die set.
Here is another frame made similarly: (Sorry, the pic is not well taken.. )
Magnetic Photo Frames - 3
For this frame, I used an old invitation card again as the base, die-cut it and sponged it with Distress Inks.. The Di mini-ink sets are pretty handy, right? I just loved using them.. Then added die-cut (Tattered Florals die set from Tim Holtz) fabric-paper flowers and added pearls to them and rhinestones to the base. The 'Family' is a stamp from We R Memory Keepers and the panel is die-cut.
For the backing and magnetic base, I used the same technique as in my previous posts..
Do you like this?
Magnetic Photo Frames - 2
For this frame, I used an old metallic gold coloured invitation card as the base, die-cut the frame and tried to sponge vintage photo distress ink onto it. But because of the glossy finish on the card, the ink wouldn't stay. So I rubbed a little Creamy Brown Chalk Ink from Color Box Chalk Ink set and then sponged the Vintage Photo DI.. Then attached the die-cut jute flower and popped the wording panel with foam tape onto it. The panel is again cut and inked similar to the base. Added die-cut letters which I inked with Walnut Stain DI..
For the base and backing, I followed the same technique as in my previous frame. How is it?
Magnetic Photo Frames.. 1
Hi all.. We had a local haat/flea market in our apartment complex and guess what I made? A bunch of magnetic photo frames and some mini cards.. wanted to share them with you..
For this frame, I used the negative of a die-cut blue corrugated sheet that I had bought from Itsy Bitsy, trimmed it to size and added the embellishments and diecut words to it.. For the 'Where' and 'When' panels, used diecuts again which I inked on the borders and then stamped the words with stamps from a custom-ordered stamp set from Shoma of Artbug.. Then I stuck the piece onto a similarly cut cardstock panel to give it more strength and mounted the entire thing with foam tape(on three sides, the fourth side is to slide in the photos) onto a double layer of cardstock backing. Then adhered magnetic tape on the reverse side of the backing.
How is it?
Subscribe to:
Posts (Atom)